Instructions
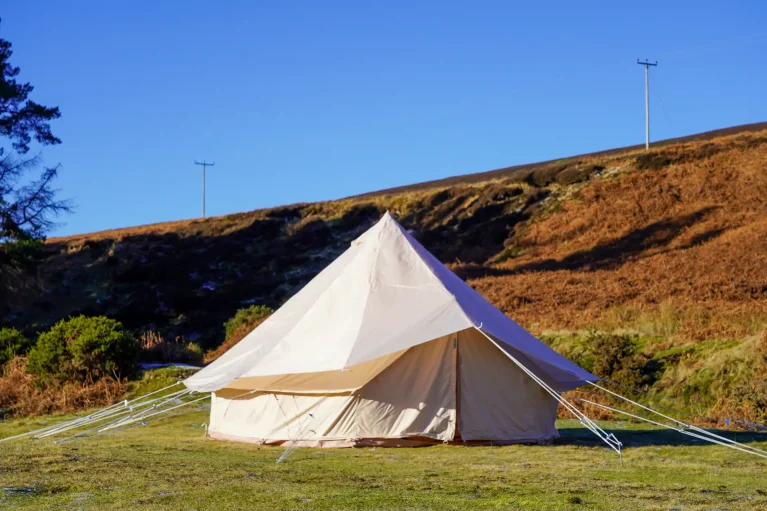
How To Assemble A Classic Bell Tent
Follow these simple steps or watch our assembly video, to pitch up for there night under the stars.

Step by step
Step One
Step One
Find your perfect spot and check the area for any sharp objects.
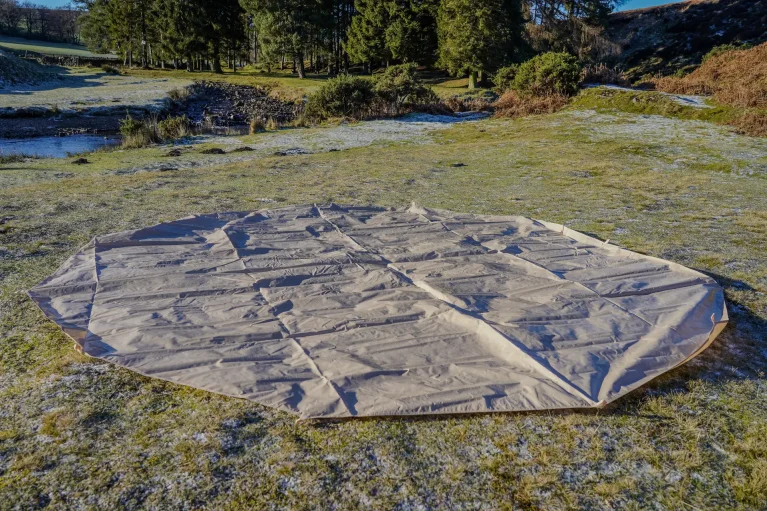
Unfold the tent ground sheet facing down.
Locate the door and rotate to your desired position.
Step Two
Step Two
Locate the Door and rotate the tent to where you want your entrance to be. Fix the Ground Sheet to your surface by pushing the standard pegs through the elasticated rings. Keep the Ground Sheet taut at all time to ensure it stays in a perfect circle.
Step Three
Step Three
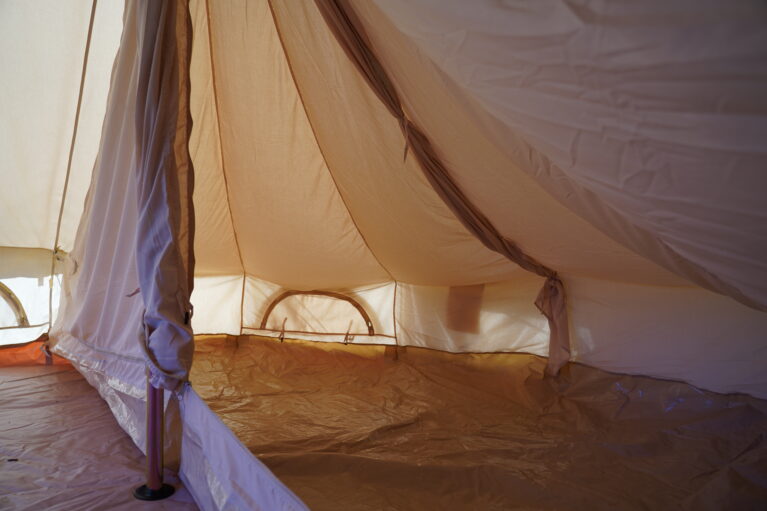
Assemble the centre pole, making sure the pole hook is at the top of the pole. Bring the centre pole into the tent and push the top of the pole into the peak of the canvas roof - ensure the pole is straight when you do this - and that is is sitting straight from the floor to the roof.
Step Four
Step Four
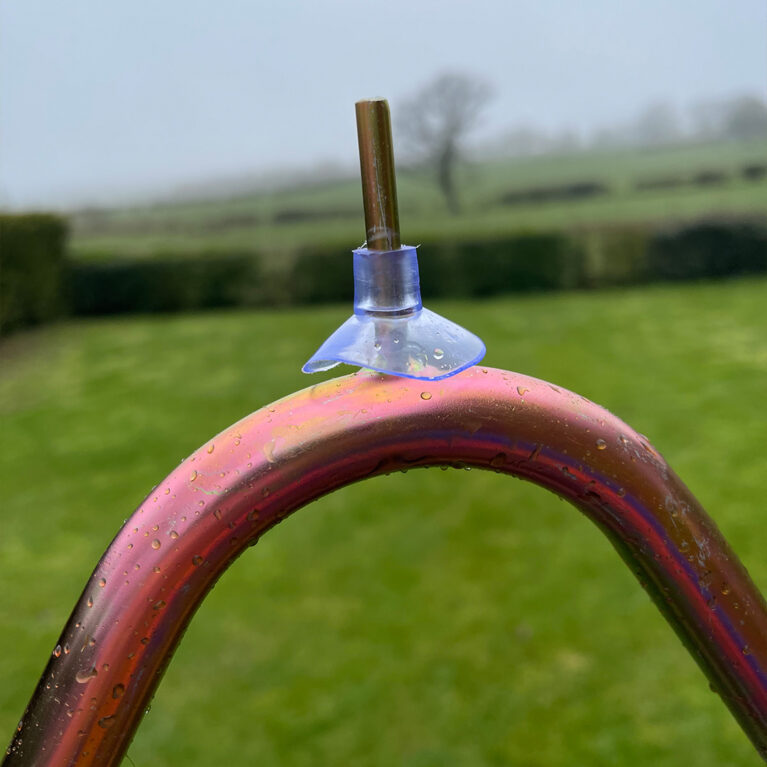
Assemble the doorway A-Frame pole and take the rain cap off. Bring this into the tent and push the spike through the hole located at the top of the door. Place the feet of the pole into the pocket located on the tent floor. Secure the rain cap to the A-frame spike located on outside of the tent. Zip up both the door mesh and fabric.
Step Five
Step Five
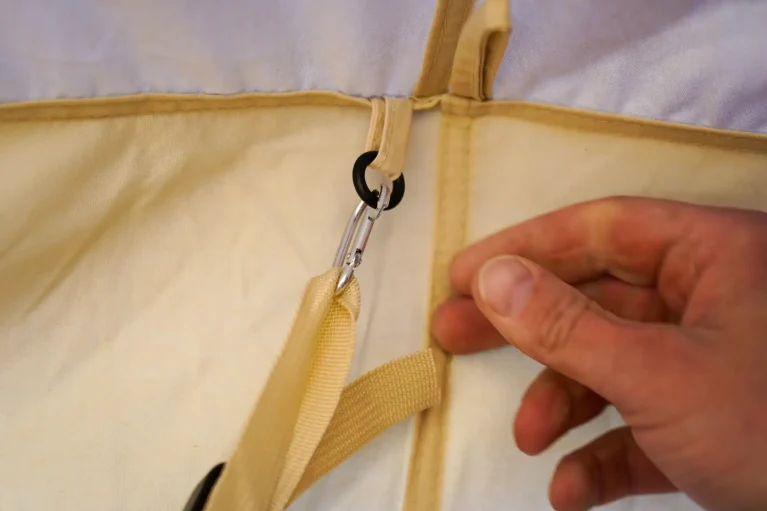
Attach the long guy rope to the loop located at the top of the door making sure it's in line with the zipper and then peg down.
Step Six
Step Six
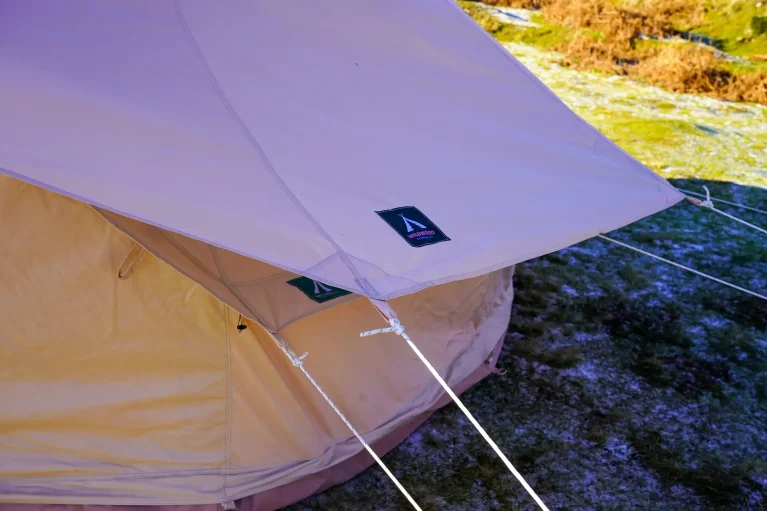
Secure the tent guy ropes a minimum of 1 metre distance from the tent using the heavy duty rebar pegs. Make sure the guy ropes are in line with the seams on the tent walls and there is enough tension where there is no slack fabric.

Step Seven
Step Seven
Making sure the tent is symmetrical and and all guide ropes are inline, carefully adjust the guy ropes using the metal tensioners. Make sure there is approximately 50cm between the tensioners to the peg.
Step Eight
Step Eight
Open up the tent walls by unhooking the elasticated loops from the ground sheet pegs outside.

Step Nine
Step Nine
Then unzip the 2 front-to-back zippers. The tent walls can be tied up using the toggles located along the bottom of the roof.
Instructions
How To Dissemble A Classic Bell Tent
Follow these simple steps or watch our video, to dissemble your bell tent.
Packing Instructions
Packing And Storing Your Tent
Ensuring your tent remains in optimal condition is crucial, and it is imperative to store it only when completely dry. Storing a damp or wet tent may lead to mildew formation, potentially causing damage to the fabric. While it’s acceptable to dismantle a wet tent, it’s vital to promptly hang it for drying within 48 hours. Utilise a washing line or a similar apparatus, separating the groundsheet from the tent to expedite the drying process.
When storing your tent, choose a dry location devoid of moisture and excessive condensation. Opt for an elevated storage space to prevent potential encounters with rodents. Following these guidelines will help preserve the longevity of your tent.
Step One
Remove pegs and shorten guy lines keep the canvas tent onto of the groundsheet to keep it clean and dry.
Step Two
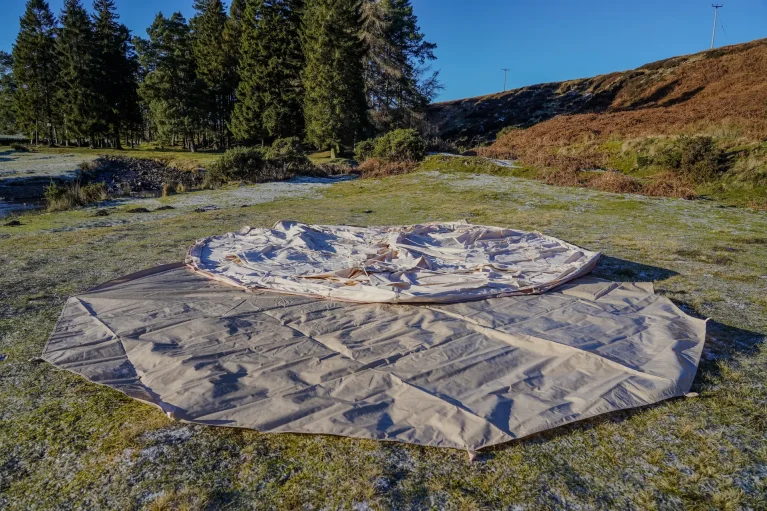
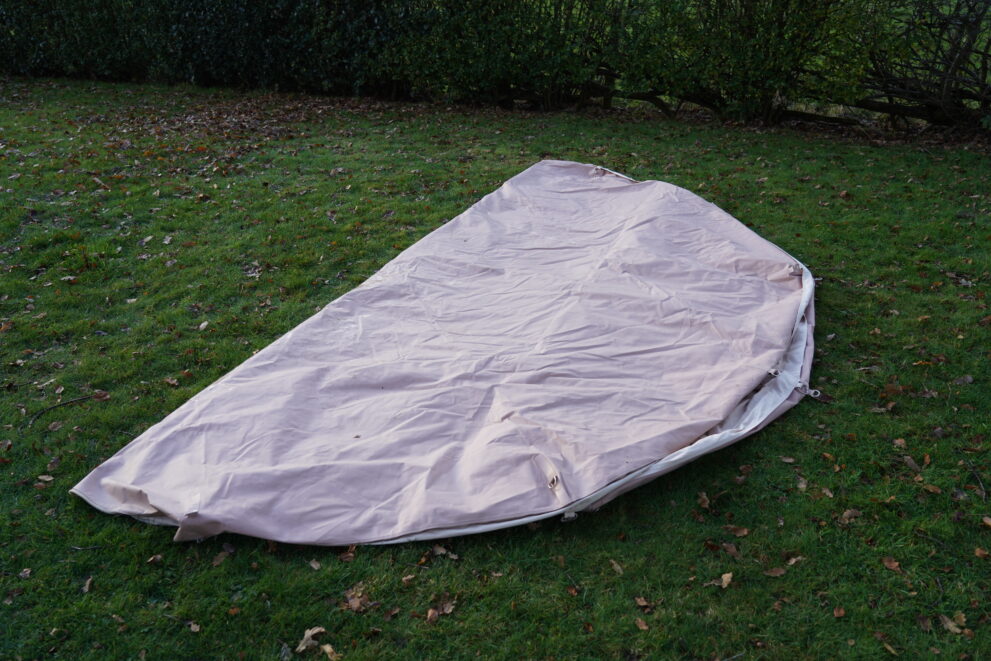
Fold the tent in half into a semi circle then fold the curved edge back into the middle to create a rectangle.
Step Three
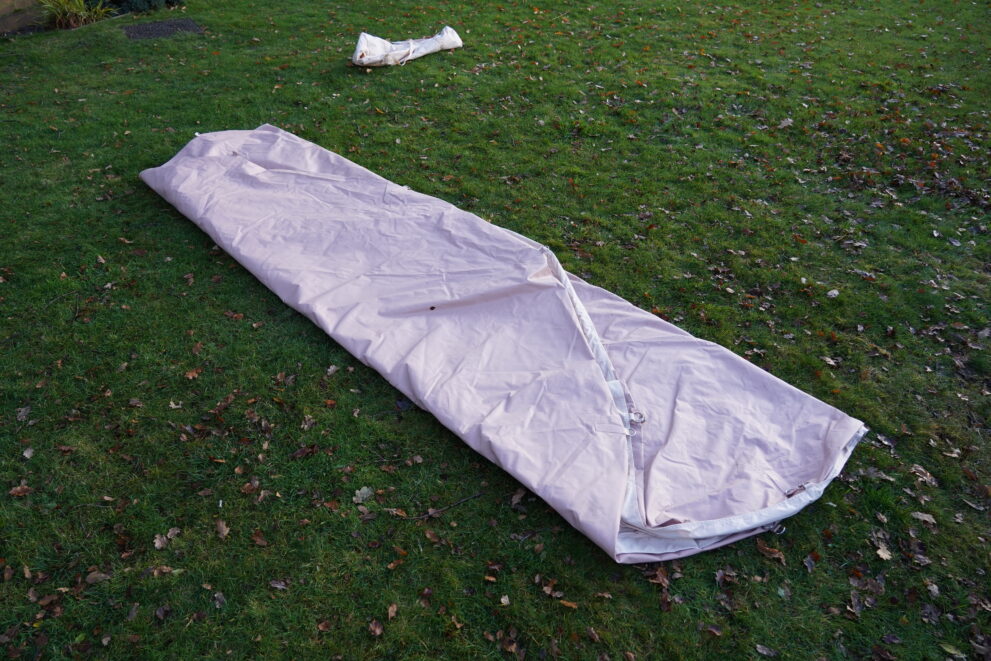
Fold the tent in half, lengthways and push any remaining air out. Then role the tent tightly forwards.

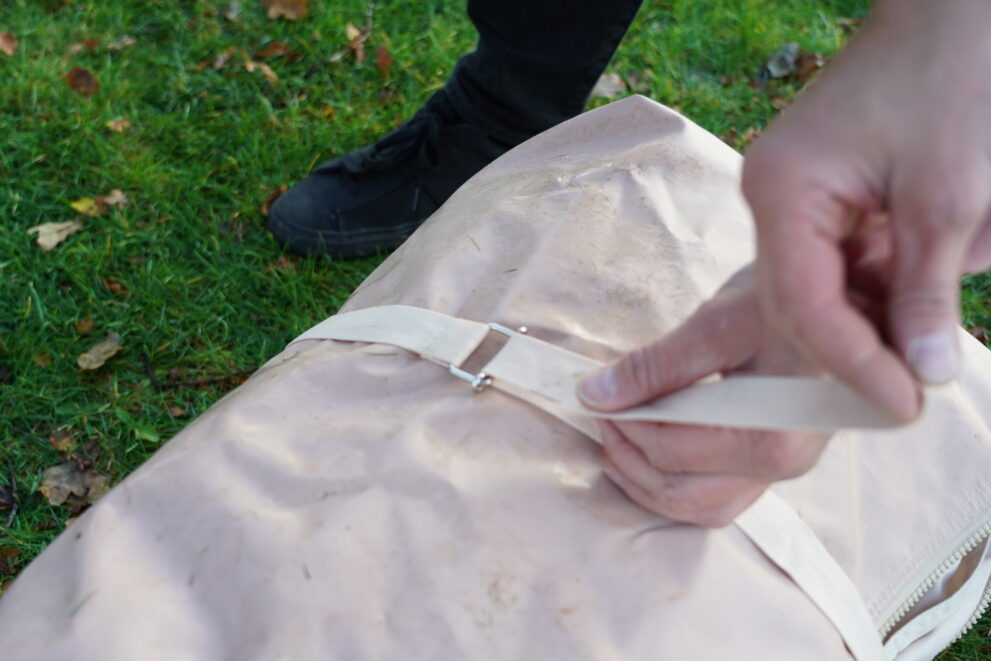
Step Four
Use the straps to secure the rolled tent and store in the tent bag.
**The tent should only be packed away if completely dry to prevent mould forming.
If damp when packing away then the tent should be hung up to dry within 48hrs.